Jira Swimlanes: Full Overview about Swimlanes
9 min read
In agile project management, organizing and visualizing tasks effectively is crucial for team success. This article delves into Jira swimlanes, a versatile feature designed to enhance the way teams categorize and manage issues on Scrum and Kanban boards. By leveraging swimlanes, teams can streamline their workflows, prioritize tasks efficiently, and gain clear insights into their project’s progress.
What are swimlanes in Jira?
Swimlanes are horizontal rows on a Jira board that allow teams to categorize and organize issues (tasks, stories, bugs, etc.) based on specific criteria.
By dividing the board into distinct lanes, swimlanes provide a clearer overview of the project's status, priorities, and responsibilities. This visual separation aids teams in managing complex projects by highlighting different aspects or categories of work within a single board.
Jira offers two primary types of boards: Kanban and Scrum. Both board types support swimlanes, enhancing their functionality:
Kanban Boards. Focus on visualizing work, limiting work in progress, and maximizing efficiency.
Scrum Boards. Center around iterative development, sprint planning, and delivering increments of work. Swimlanes complement these boards by adding an extra layer of organization, enabling teams to track multiple dimensions of work simultaneously.
How to create swimlanes in Jira
The workflow for creating Jira swimlanes differ for team-managed and company-managed projects.
Team-managed projects
In the team-managed projects there is no option to customize swimlanes and you can only use the groupings allowed by Jira. Here’re the available options:
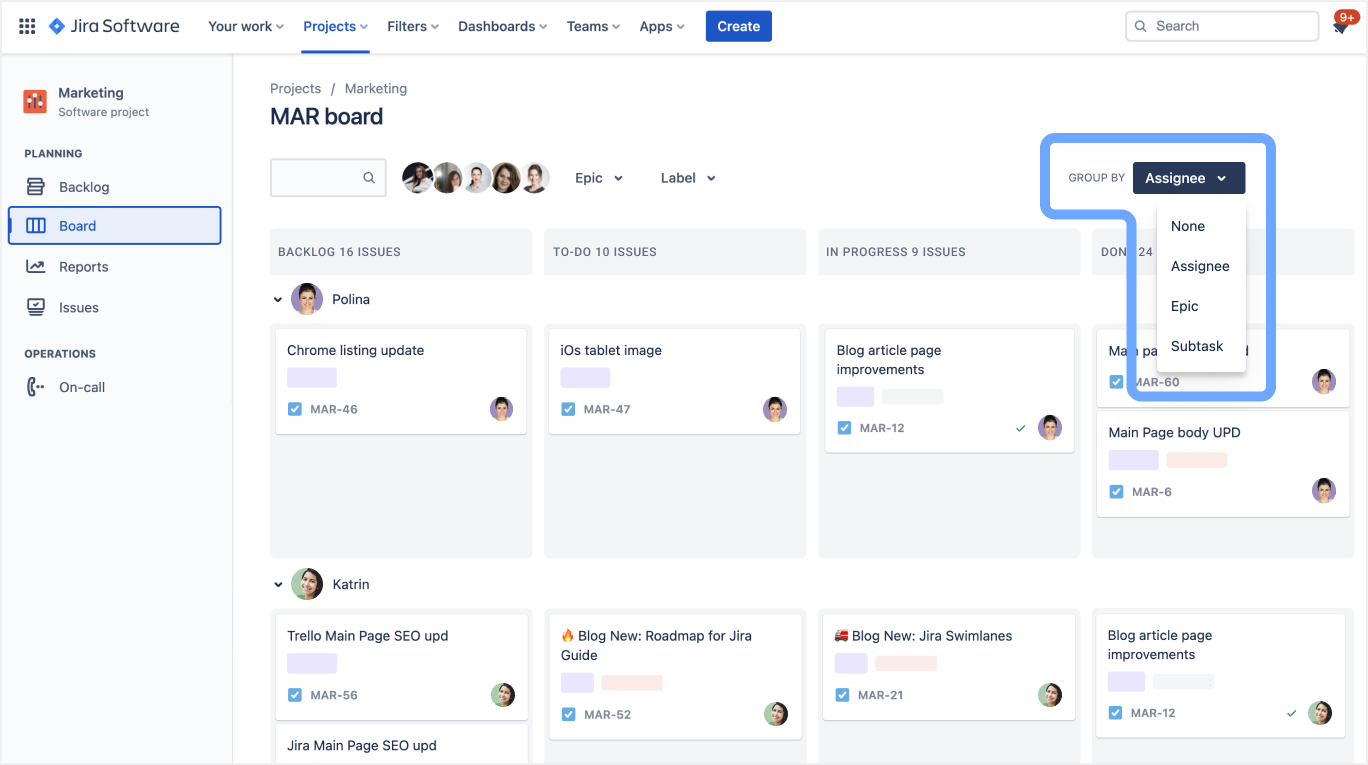
By assignee. It provides an individual view of the work that has been assigned to a team member, and is useful to determine how dependent a project is on a certain person.
By epic. Jira swimlanes by Epics display the epics in the project and their current state.
By subtask. Helps you manage and visualize the breakdown of larger tasks into smaller pieces.
None of the above. Leaves your swimlanes in Jira ungrouped.
After you have created swimlanes in Jira, you can drag and drop issues into the appropriate swimlane. This will help you visualize the progress of your work and make it easier to identify which tasks are assigned to whom, what their status is, and how they are prioritized.
Company-managed projects
In the company-managed projects you’re able to customize swimlanes like this:
- On your board, locate the three-dot menu (•••) usually found in the top-right corner. Click on it and select Board settings from the dropdown menu.
- In the Board settings sidebar, click on Swimlanes.
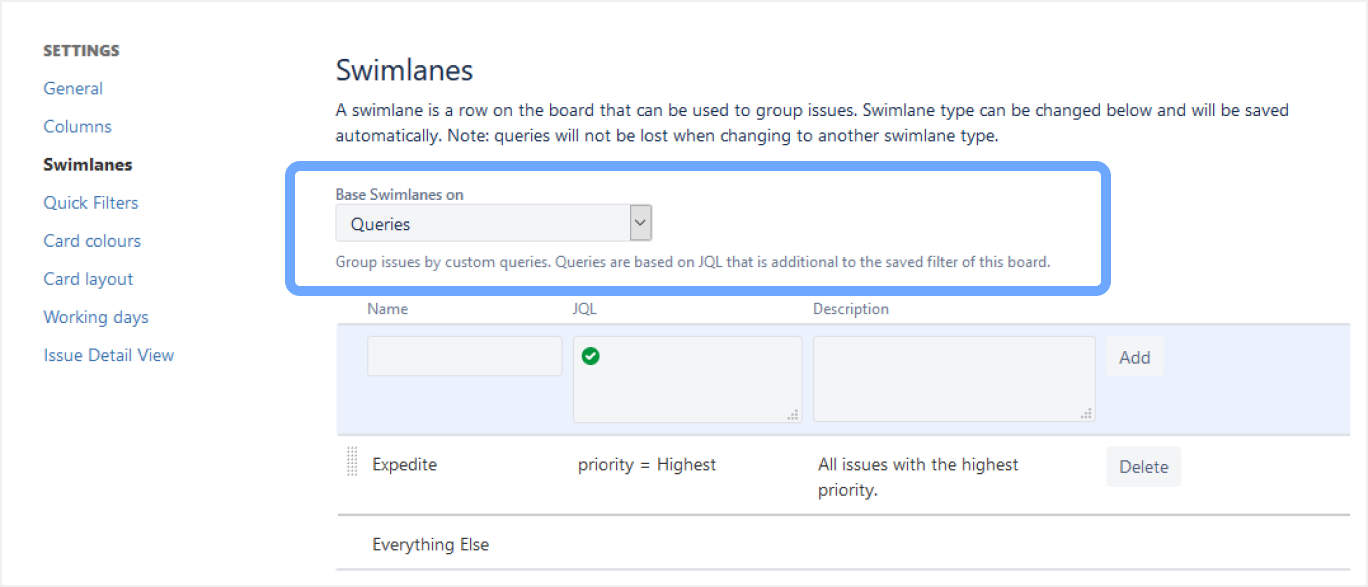
- Jira offers several swimlane types. Select the one that best fits your workflow:
- Queries. Use Jira Query Language (JQL) to define custom swimlanes.
- Stories. Group issues by their parent user stories.
- Assignees. Organize swimlanes based on who is assigned to the tasks.
- Projects. Separate issues based on different projects (useful for multi-project boards).
- Components. Group issues by project components.
- After configuring, click Save or Apply to implement the changes.
Swimlanes and quick filters
In Jira, you can use JQL (Jira Query Language) for searching and filtering issues. JQL can be used to create more complex queries:
- to search for specific text within issue fields, such as the summary or description;
- to filter issues based on a wide range of criteria, such as issue type, status, priority, project, and more.
By combining JQL and swimlanes, teams can create powerful views of their work in Jira. For example, a team might use JQL to filter for all bugs with a certain priority level, and then group those issues by assignee using swimlanes. This creates a view of all critical and urgent bugs assigned to each team member, making it easier to prioritize and focus on the primary work.
How to proceed with some JQL input to group swimlanes in Jira software:
- Click on the "Board Settings" button (gear icon) on the top right corner of the board.
- In the "General" tab, scroll down to the "Swimlanes" section.
- Select the "Query" option and enter your JQL query in the text box.
- Click the "Save" button to apply the changes.
See an example of a JQL query that groups swimlanes by assignee of each issue:
assignee in (currentUser()) ORDER BY assignee ASC
How to use swimlanes in Jira?
What are swimlanes used for in Jira? Here are some of the practical use-cases of Jira swimlanes:
Prioritization
Your team needs to focus on high-priority tasks while keeping track of medium and low-priority issues. Create swimlanes based on priority levels using JQL:
- High Priority: priority = High
- Medium Priority: priority = Medium
- Low Priority: priority = Low
Managing multiple teams
Different teams (e.g., Frontend, Backend, QA) are working on the same project. Use Assignees swimlanes to visualize each team member's workload.
Alternatively, use Components swimlanes to group tasks by team responsibility: Frontend, Backend, Q, etc.
Tracking release phases
Your project has multiple release phases, and you want to track tasks associated with each phase. Create swimlanes for each release phase using JQL:
- Phase 1: fixVersion = "Phase 1"
- Phase 2: fixVersion = "Phase 2"
- Phase 3: fixVersion = "Phase 3"
Why use Jira swimlanes?
Jira swimlanes are a useful feature that provides several benefits to teams using the Jira project management software. Here are some of the benefits of Jira swimlanes:
- Improved visibility. Swimlanes help teams visualize their work in a more organized and meaningful way. By grouping related issues together, teams can quickly identify dependencies, bottlenecks, and areas for improvement.
- Enhanced collaboration. Swimlanes help teams collaborate more effectively by giving them a clear view of who is working on what, and how their work fits into the overall project.
- Increased productivity. Swimlanes provide a clear focus for teams, helping them prioritize their work and stay on track and eliminate work delays. This can lead to increased productivity and faster delivery of projects.
- Customizable views. Jira swimlanes can be customized to fit the specific needs of different teams. For example, teams can create swimlanes based on project status, issue type, priority, or any other criteria that is relevant to their work.
- Better reporting. Swimlanes make it easier for teams to generate reports and metrics on their work. By tracking progress across different swimlanes, teams can identify trends and areas for improvement, and make data-driven decisions about how to optimize their workflow.
How many swimlanes can you have in Jira?
The number of swimlanes that can be created in Jira is not strictly limited, and it depends on the needs and requirements of the project or team using Jira.
However, it is important to keep in mind that too many swimlanes can make the workflow confusing and hard to manage, so we recommend keeping the number of swimlanes in Jira to a manageable level.
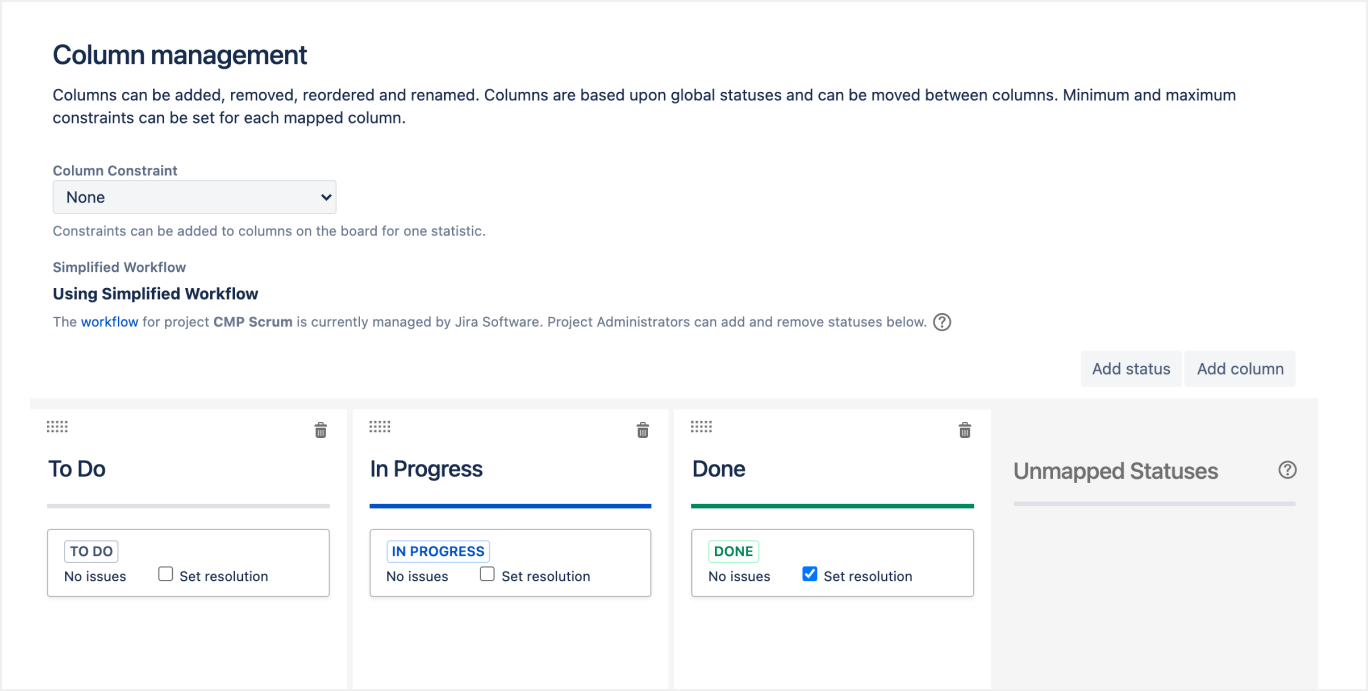
What is the difference between swimlanes and columns in Jira?
In Jira, swimlanes and columns are two different concepts that serve different purposes. Swimlanes are horizontal rows in a Jira board that represent categories or groups of issues. They can be used to group issues by team, project, priority, or any other criteria that helps to organize and manage the workflow. Swimlanes can be customized to show different fields or criteria, and can be collapsed or expanded as needed.
On the other hand, columns are vertical lanes that represent the stages of a workflow. They can be used to track the progress of issues from one stage to another, such as from "To Do" to "In Progress" to "Done". Columns can also be customized to reflect the specific stages of a team's workflow.
How to manage swimlanes on the timeline?
Swimlanes is a super option to get better visibility and present team data on the board, but if you need an even more detailed view on how everything is linked to deadlines, the timeline view with swimlanes is the best option. Try out the Planyway plugin to see it in action.
Planyway easily visualizes workflow across teams and projects on the timeline. There you will be able to sort out tasks by users, by epics, or by projects on a single Jira roadmap.
It is a killer app for small and medium size teams, to get better visibility on the board, with its one screen resource workload view, Gantt chart view (see the GIF above), project roadmap, shared team calendar that allows to monitor issues from multiple projects together on a single page and more.
Conclusion
Effectively utilizing swimlanes in Jira can significantly transform how your team visualizes and manages work, leading to enhanced organization, prioritization, and collaboration. By defining clear and relevant criteria, you ensure that each swimlane serves a specific purpose aligned with your project goals, whether it's prioritizing tasks, tracking different teams, or separating types of work.